

3D printing timelapses made simple
The one and only, printer agnostic, fully air-gapped, 3D printing timelapse trigger for cameras. Explore features, documentation, and camera compatibility on GitHub .


Layer-by-Layer Magic
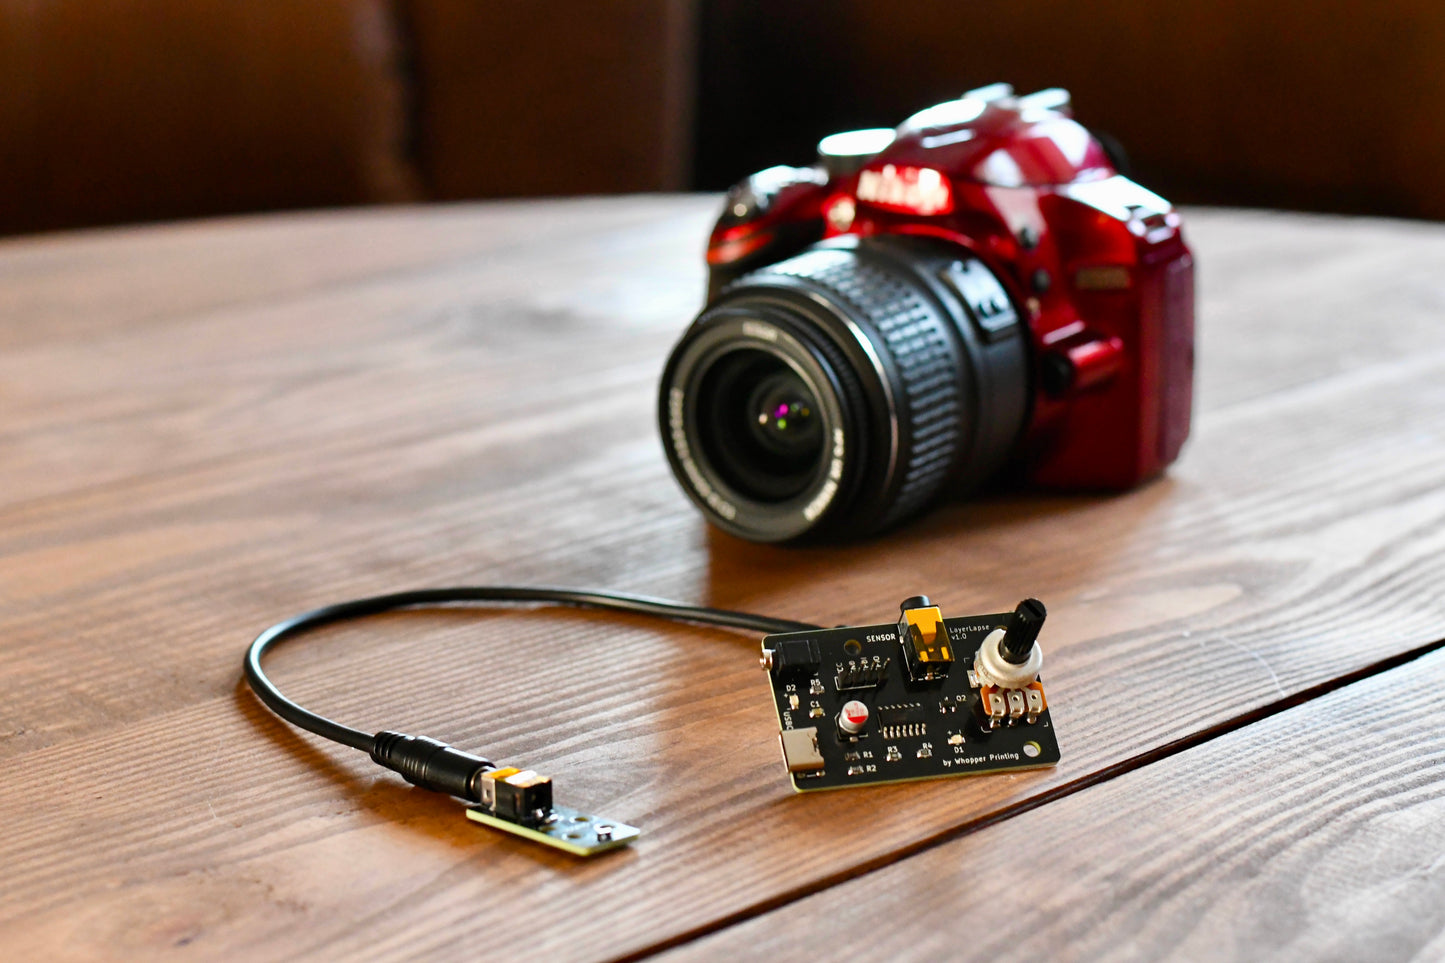
Capture every layer of your print in buttery-smooth detail. LayerLapse detects each new layer with a magnetic sensor and triggers your camera — no firmware hacks or printer mods required. Just place a magnet on your print head, add some gcode, and you're making timelapses!
- Compatible with most 3D printers (just add simple G-code)
- Supports many DSLR/mirrorless cameras (check GitHub for compatability list)
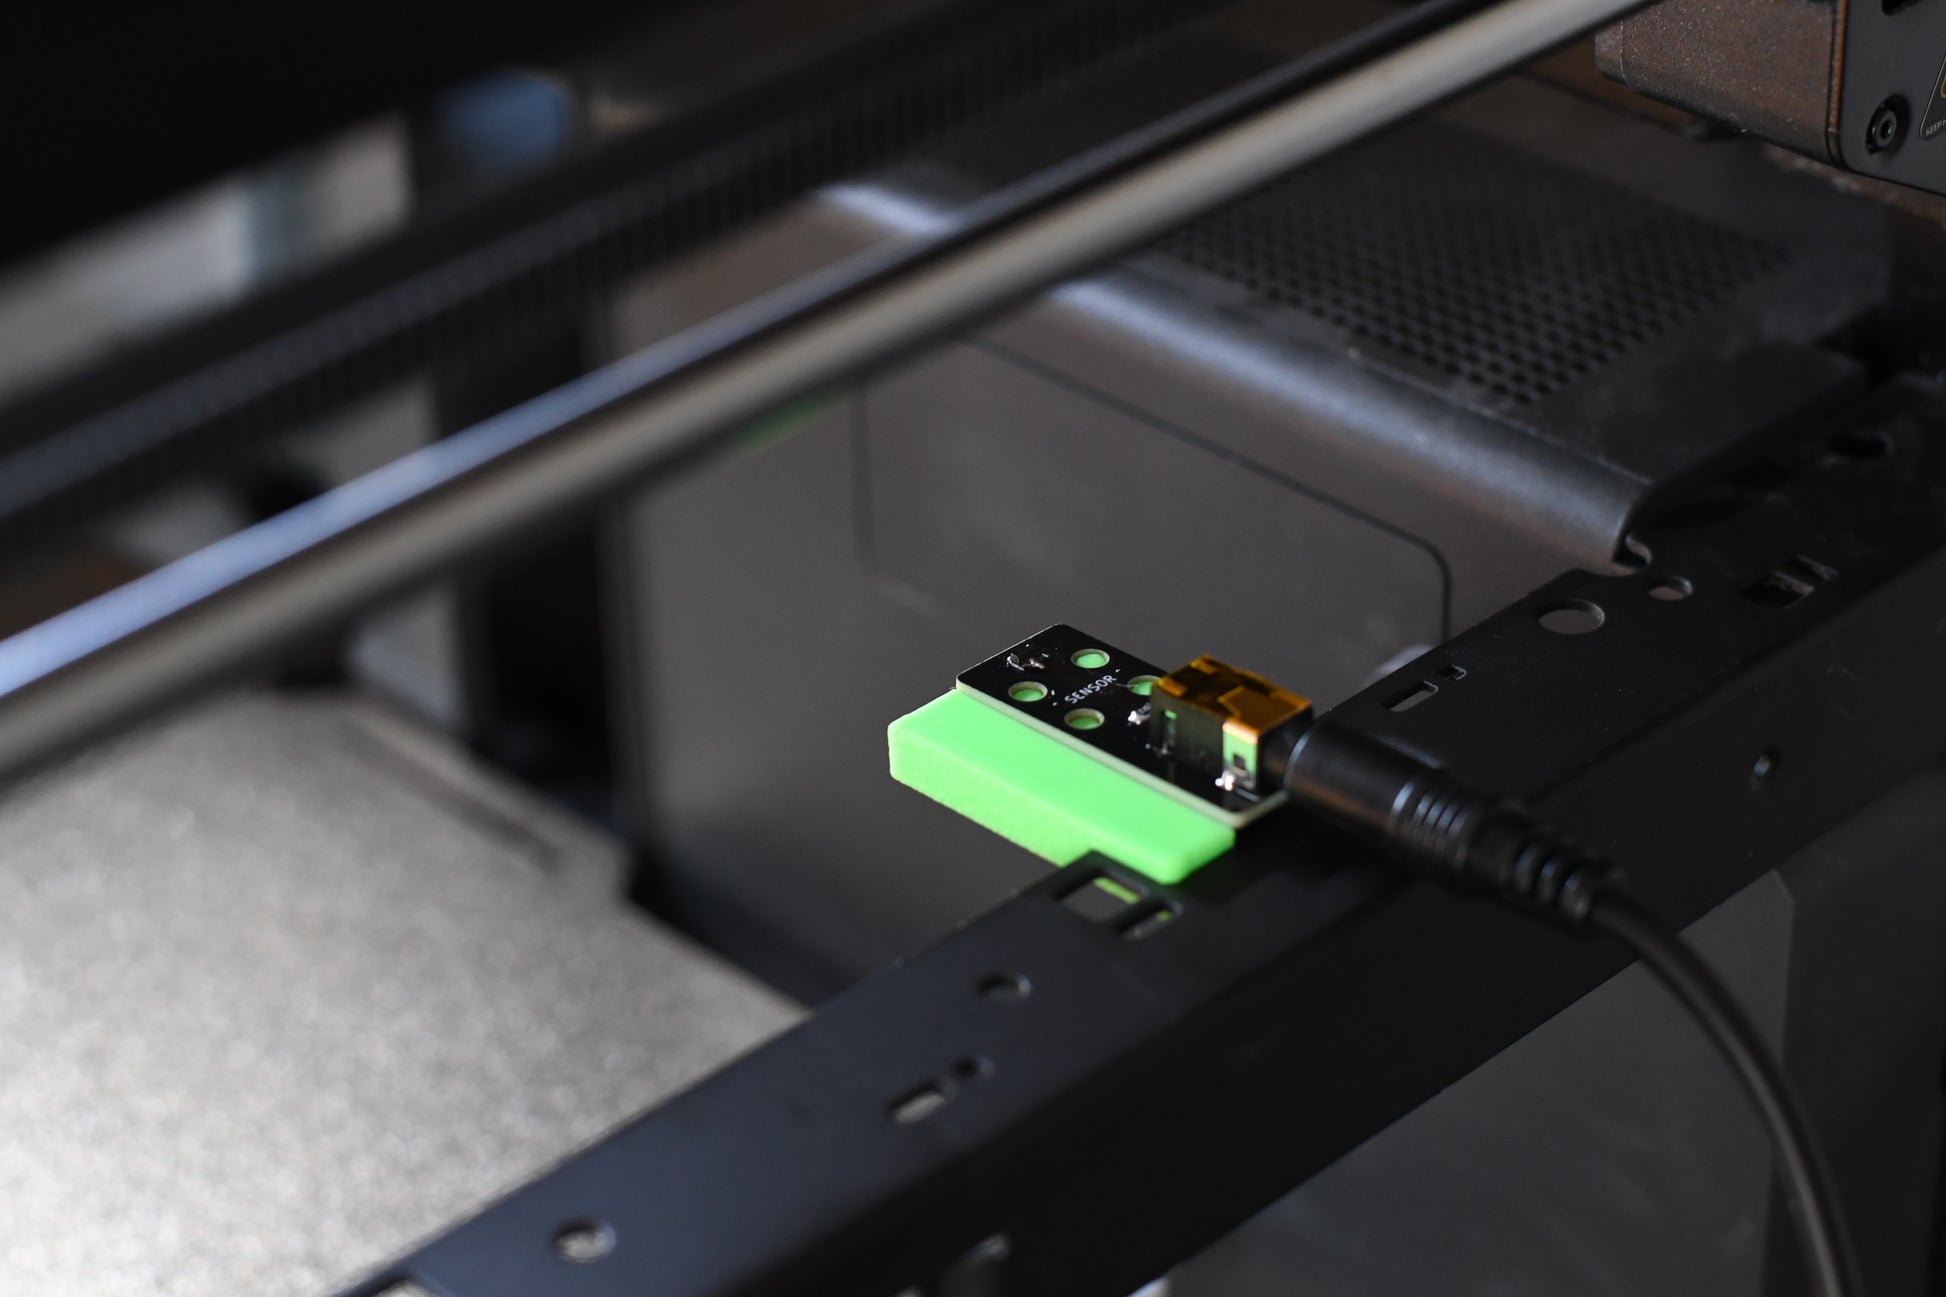
- Magnetic sensor system — no contact with moving parts
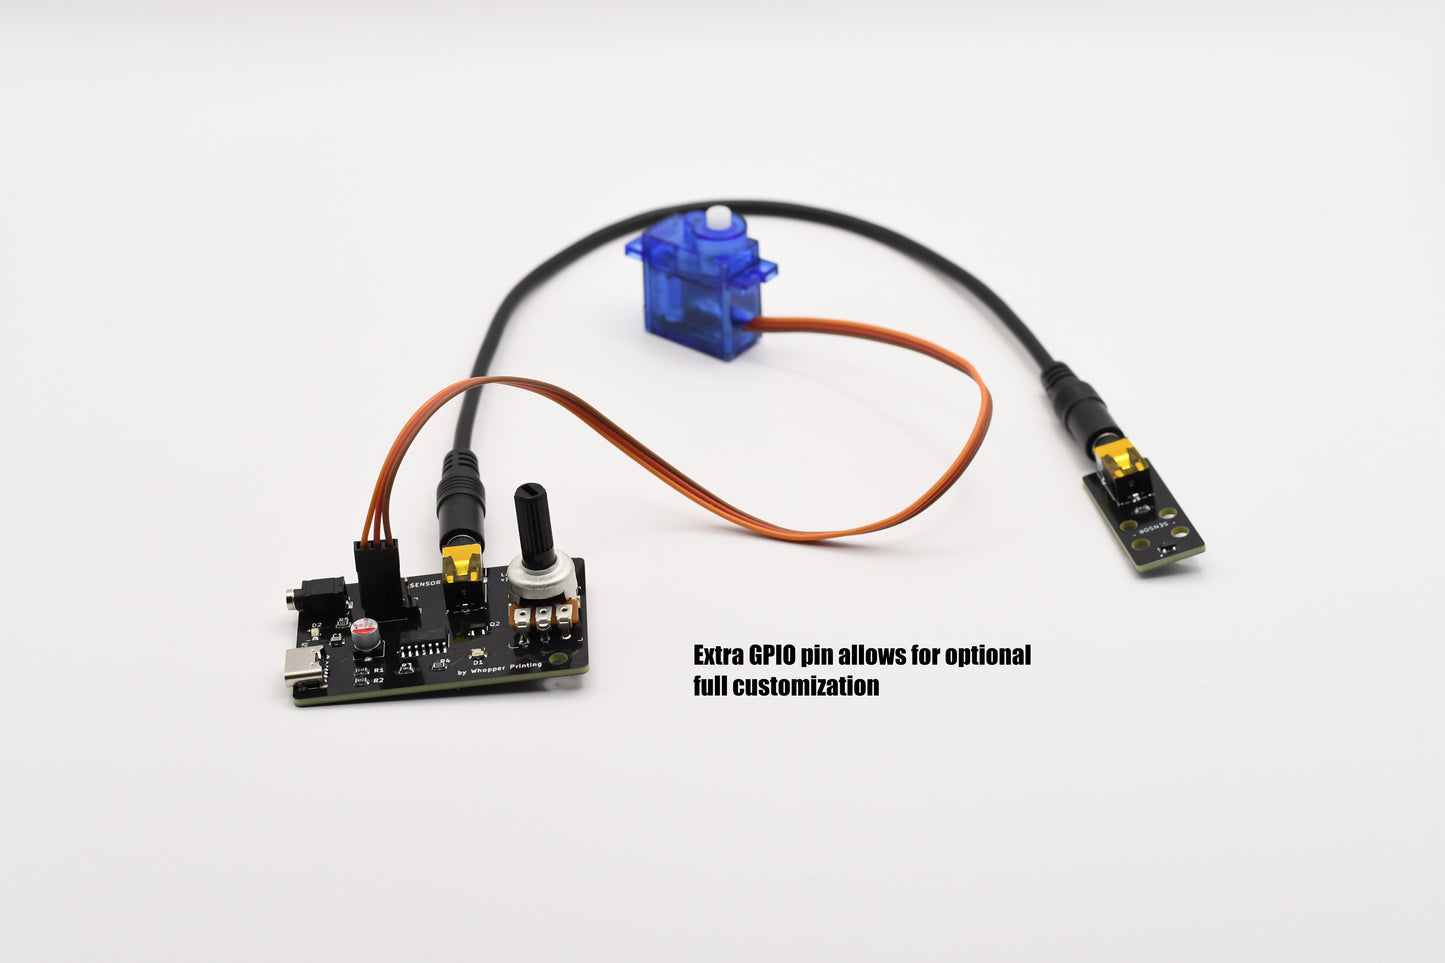
- Fully customizable firmware; fully programmable
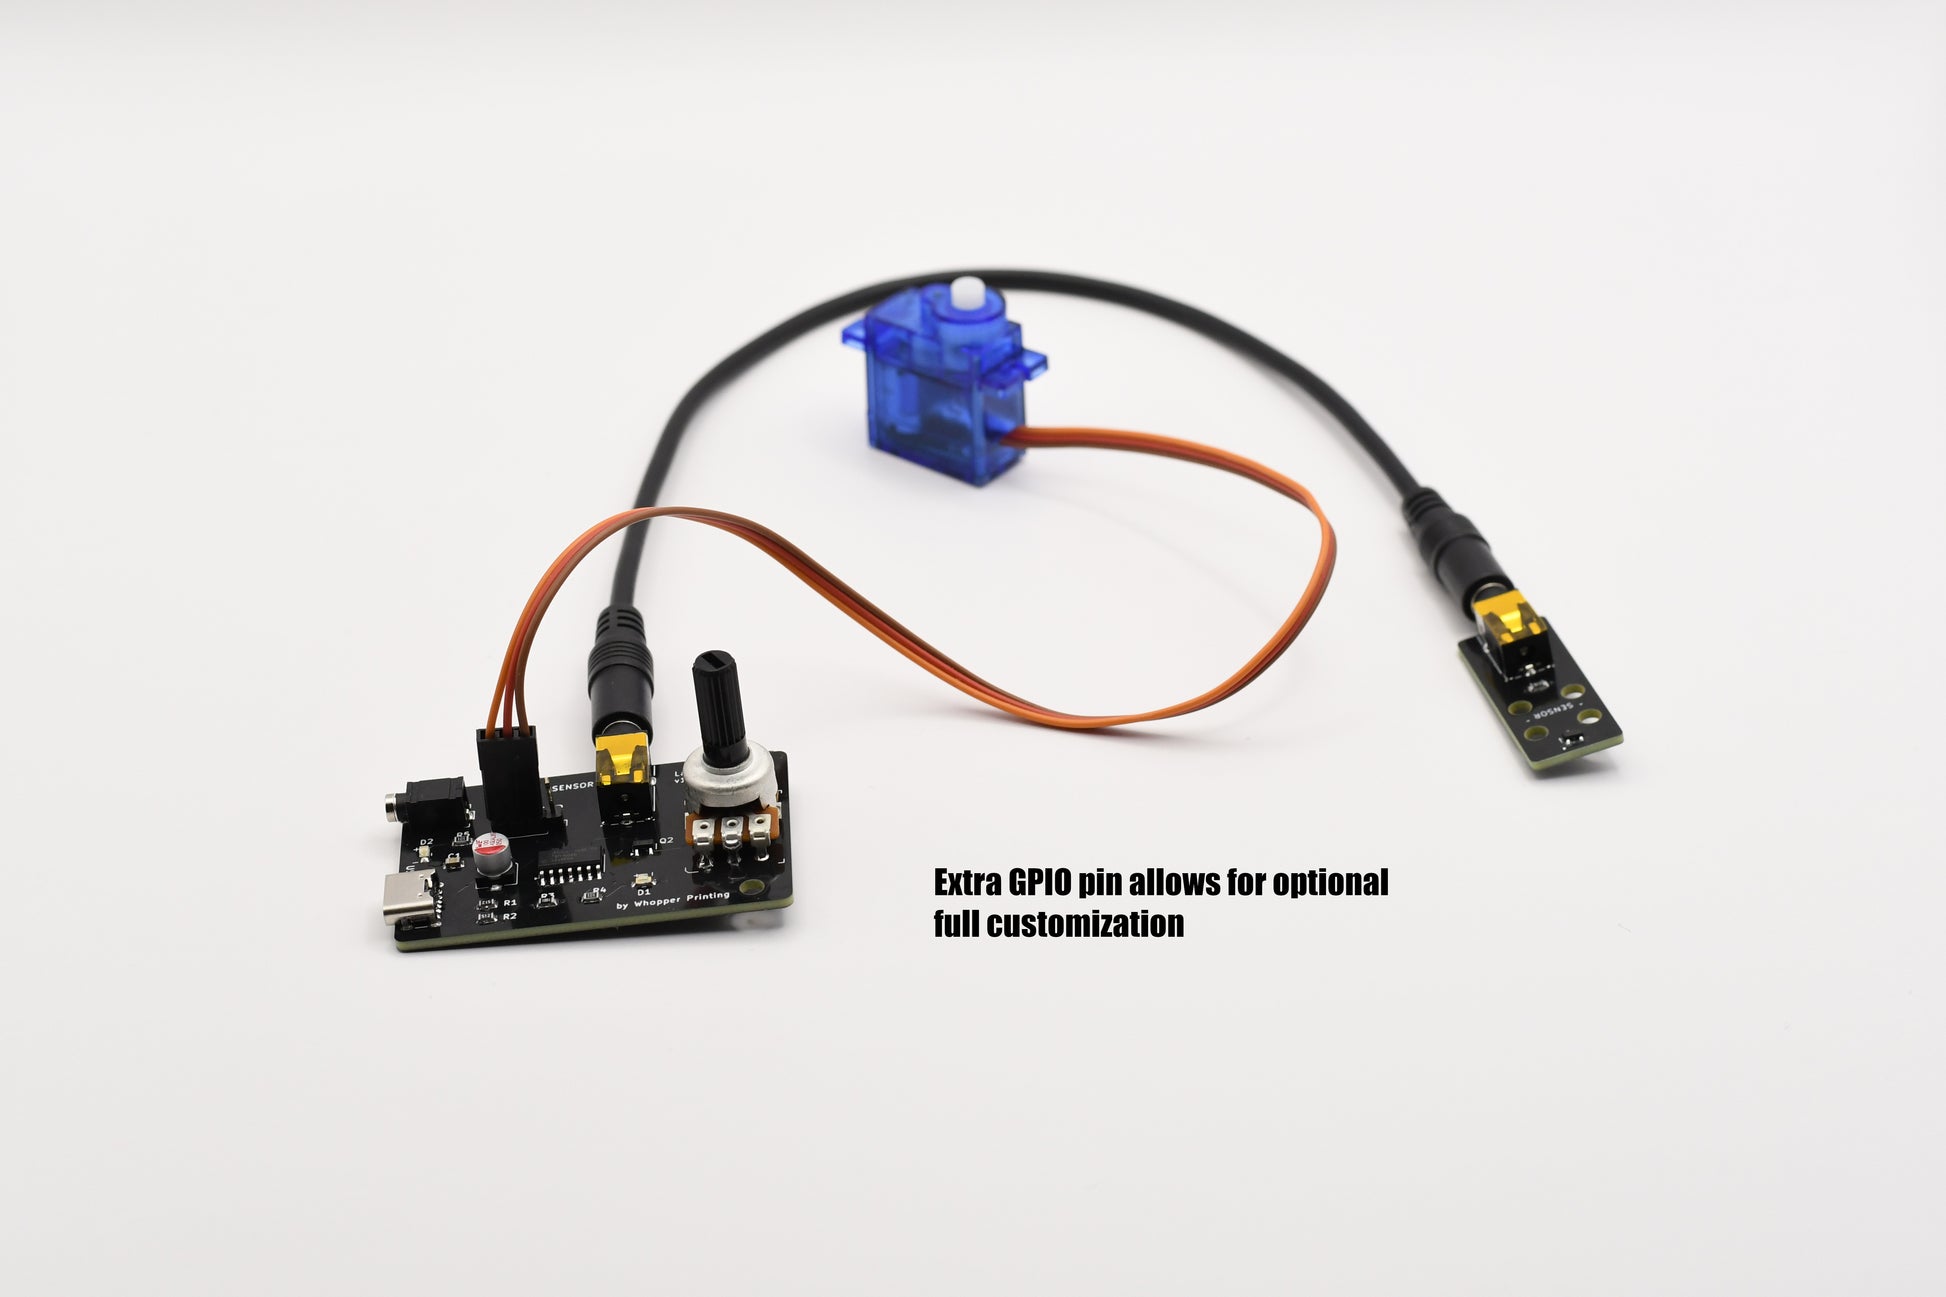
- Extra user programmable GPIO pin
Entirely Plug & Play
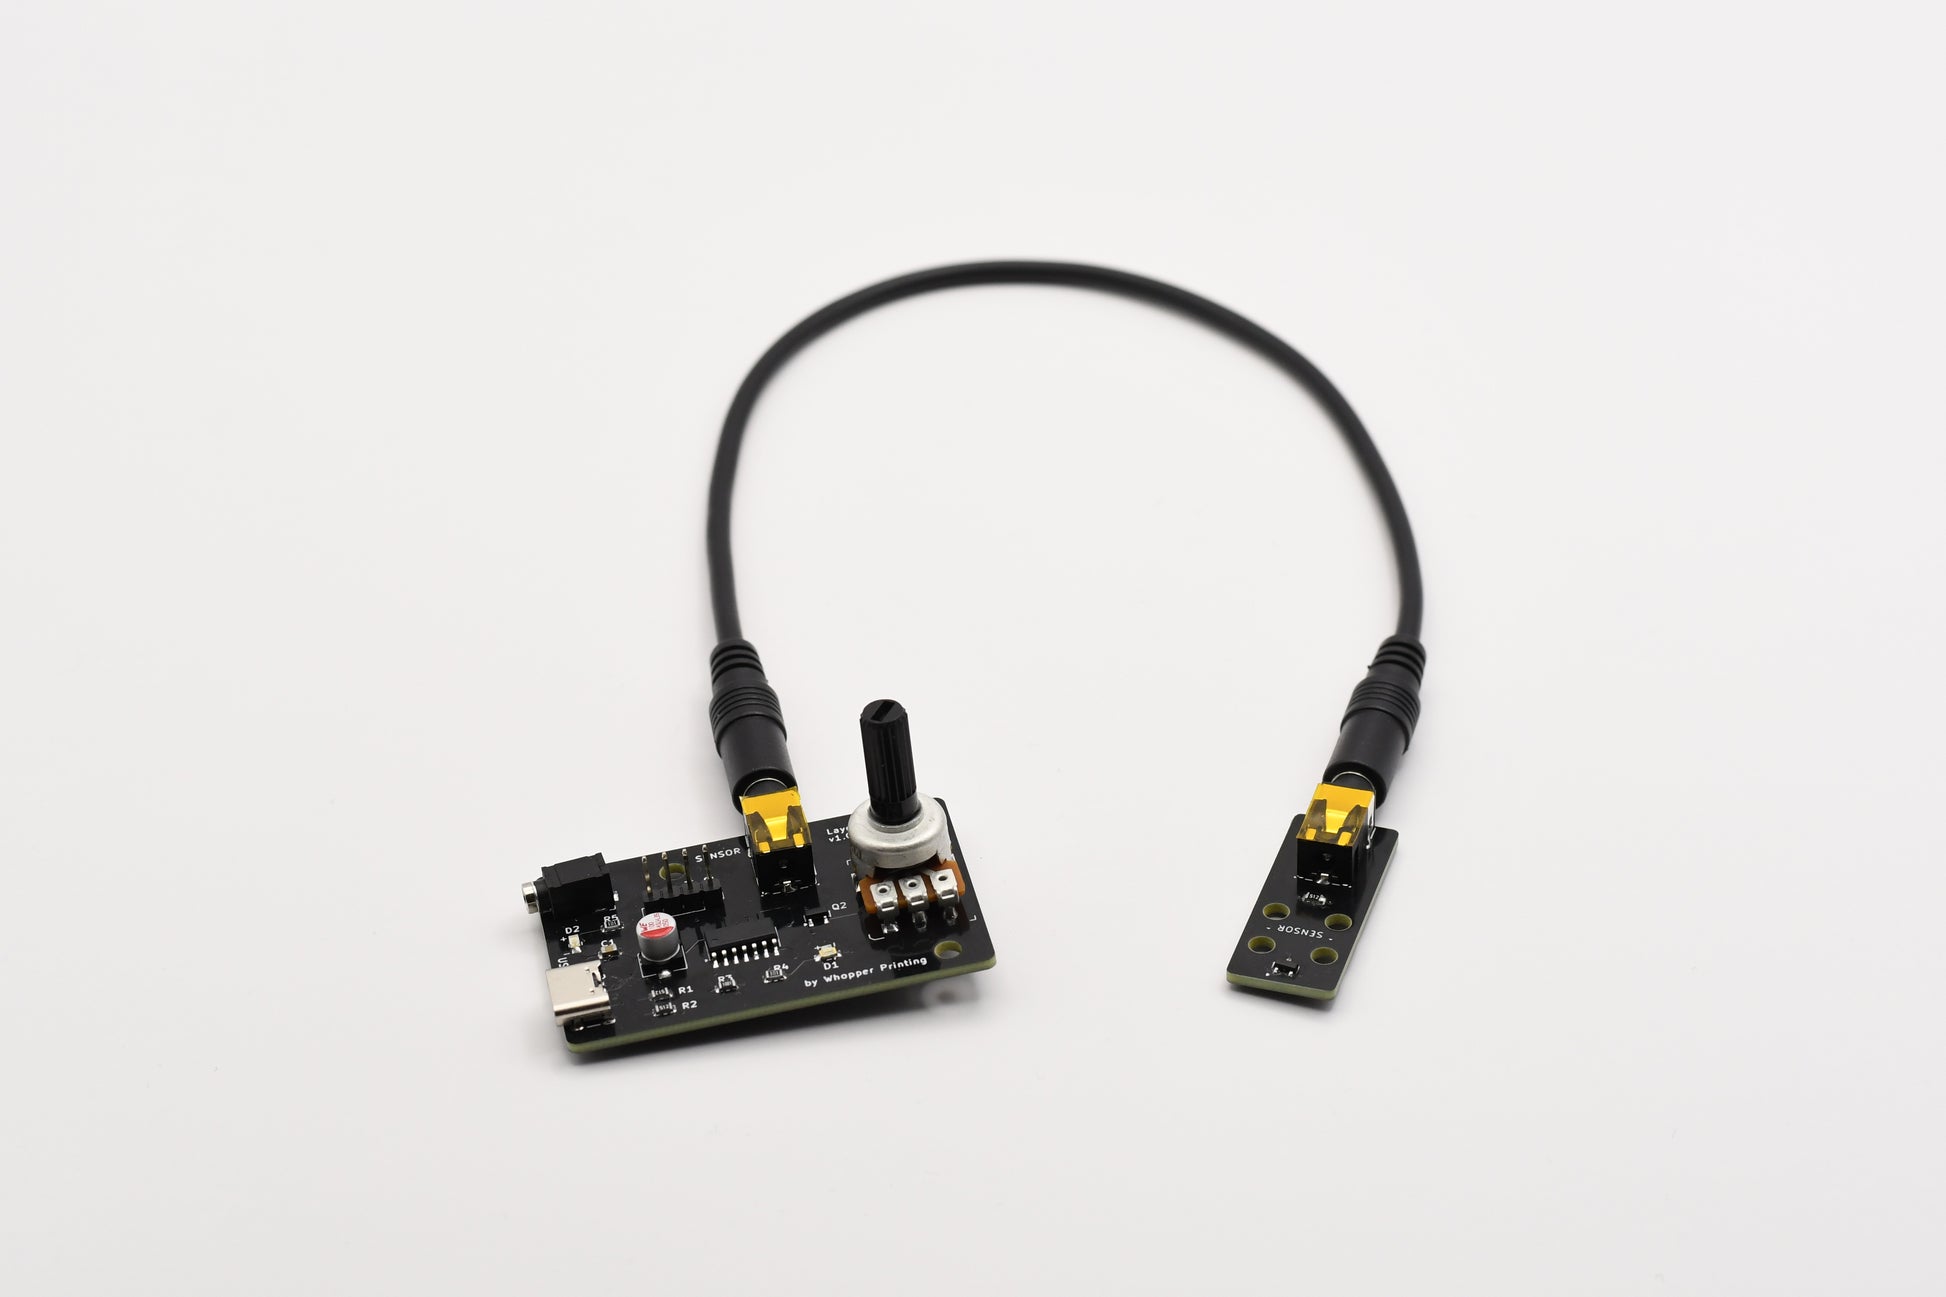
The best part about LayerLapse is that you don't have to take anything apart, solder anything, or program anything. Right out of the box, LayerLapse is ready to use. Just attach the magnet to the print head, affix the sensor to the printer, add some gcode in your slicer, and you're making a timelapse! Turn the dial to set a delay between printer parking and the camera trigger to eliminate vibrations in your timelapse. The setup couldn't be easier! I've also made a DIY writeup if you want to build your own instead, available on GitHub.

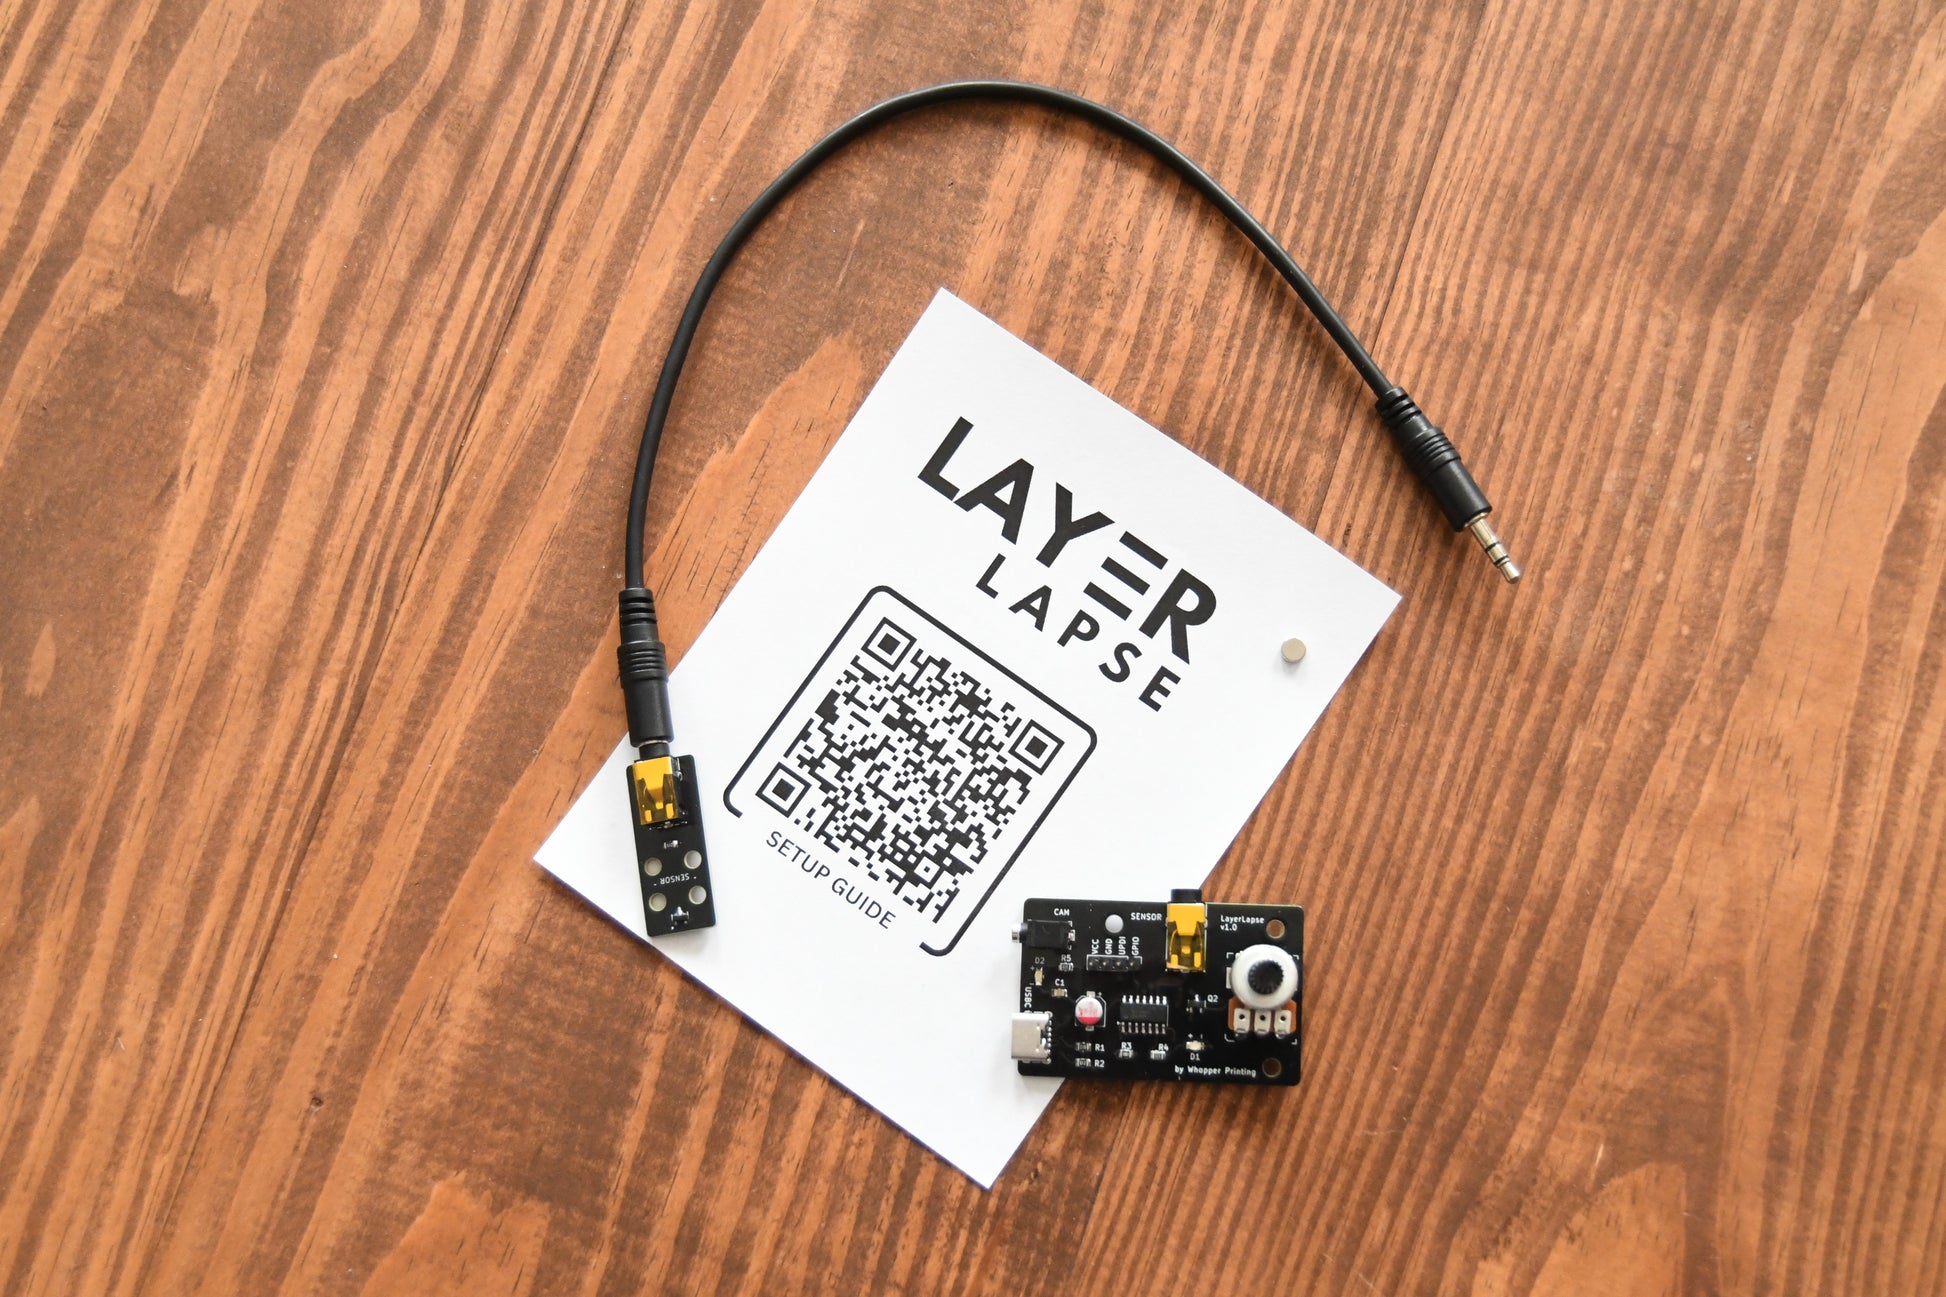
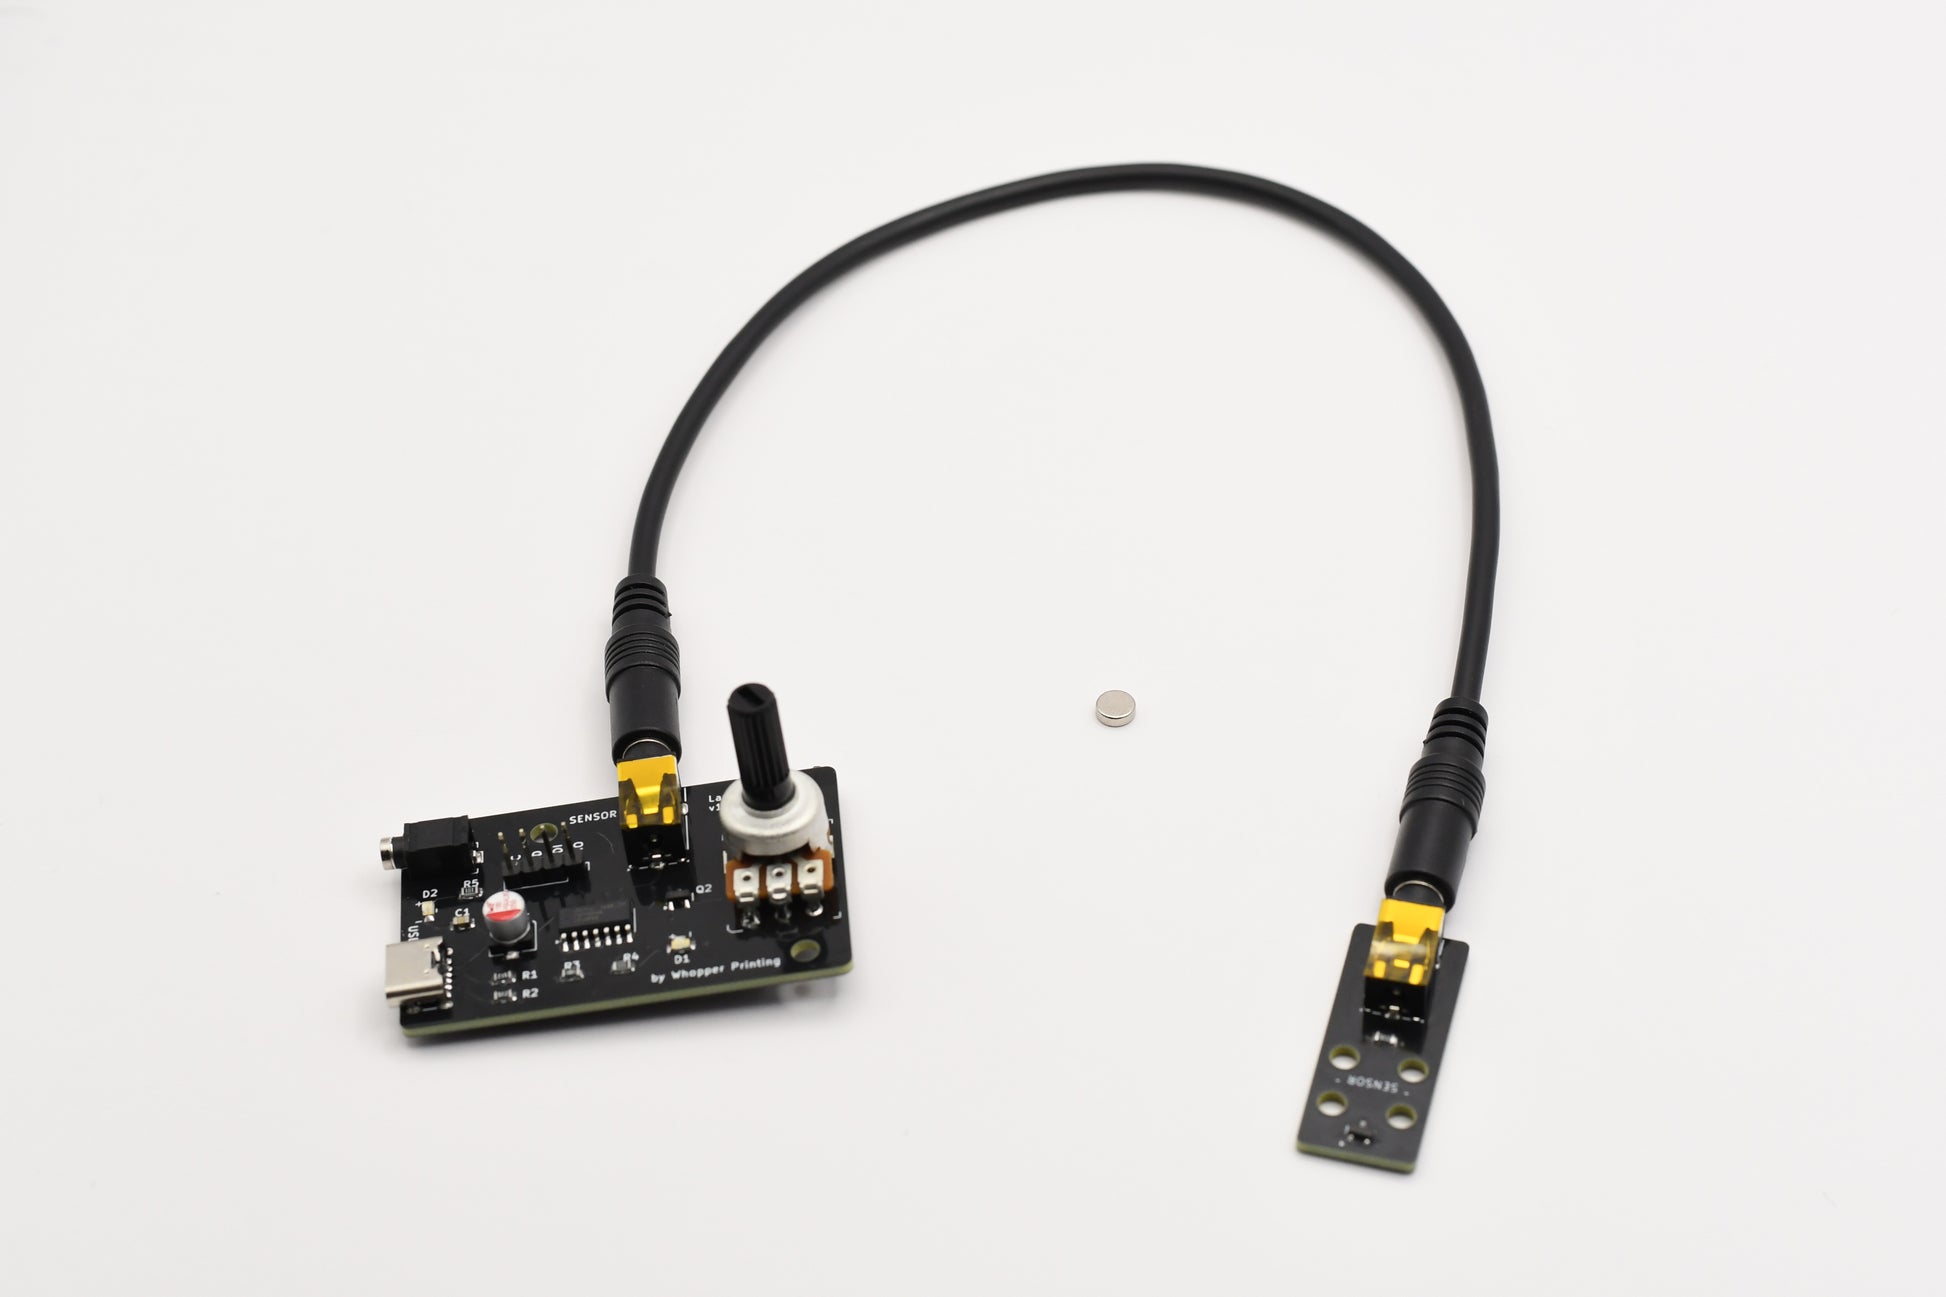
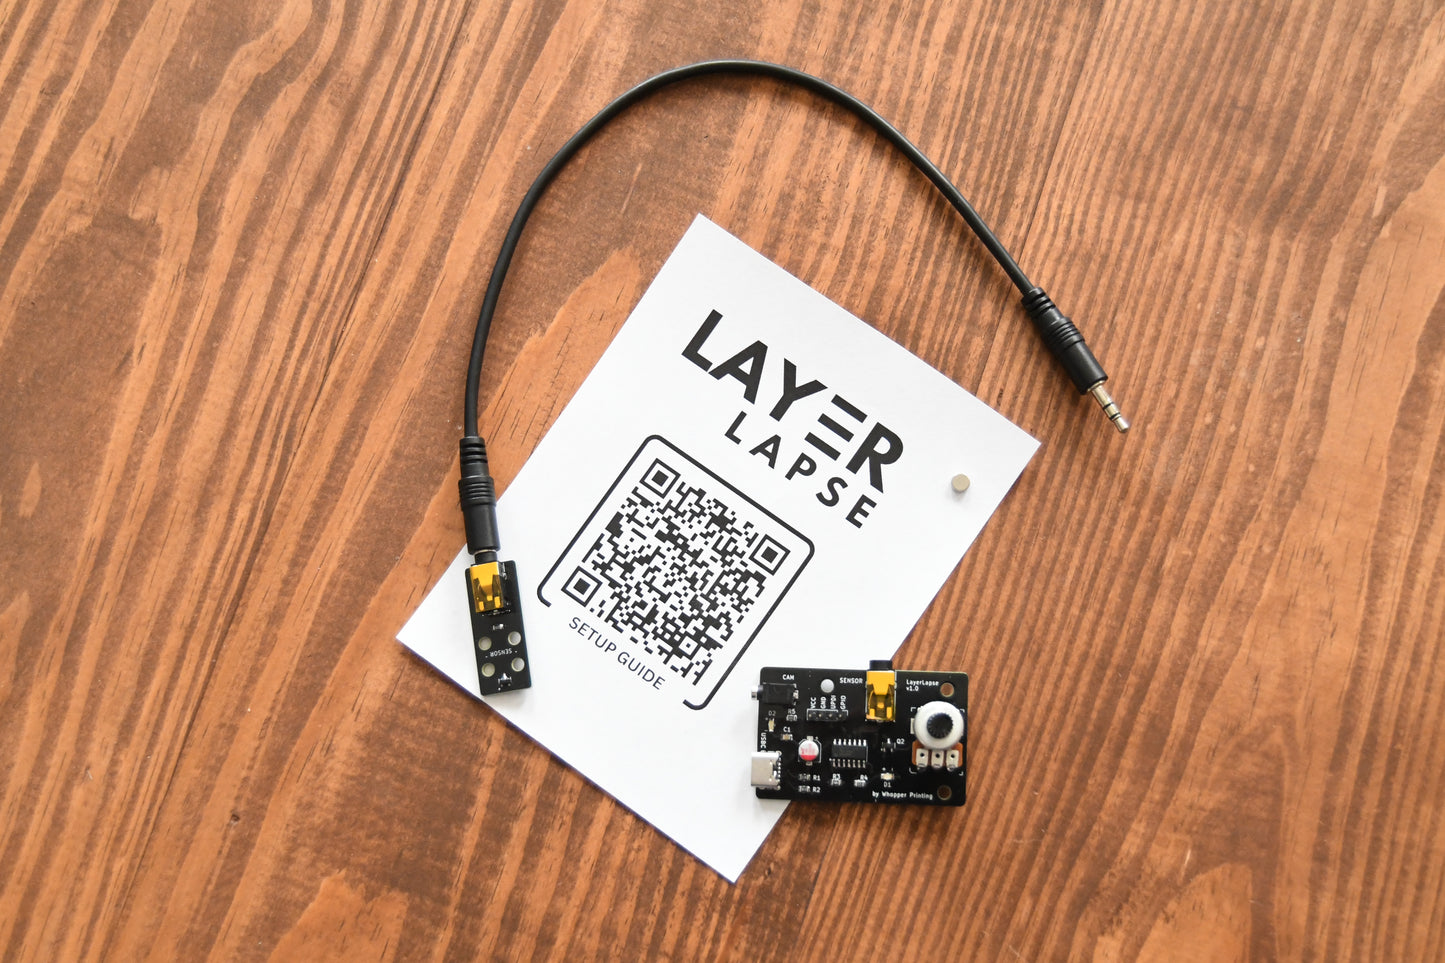
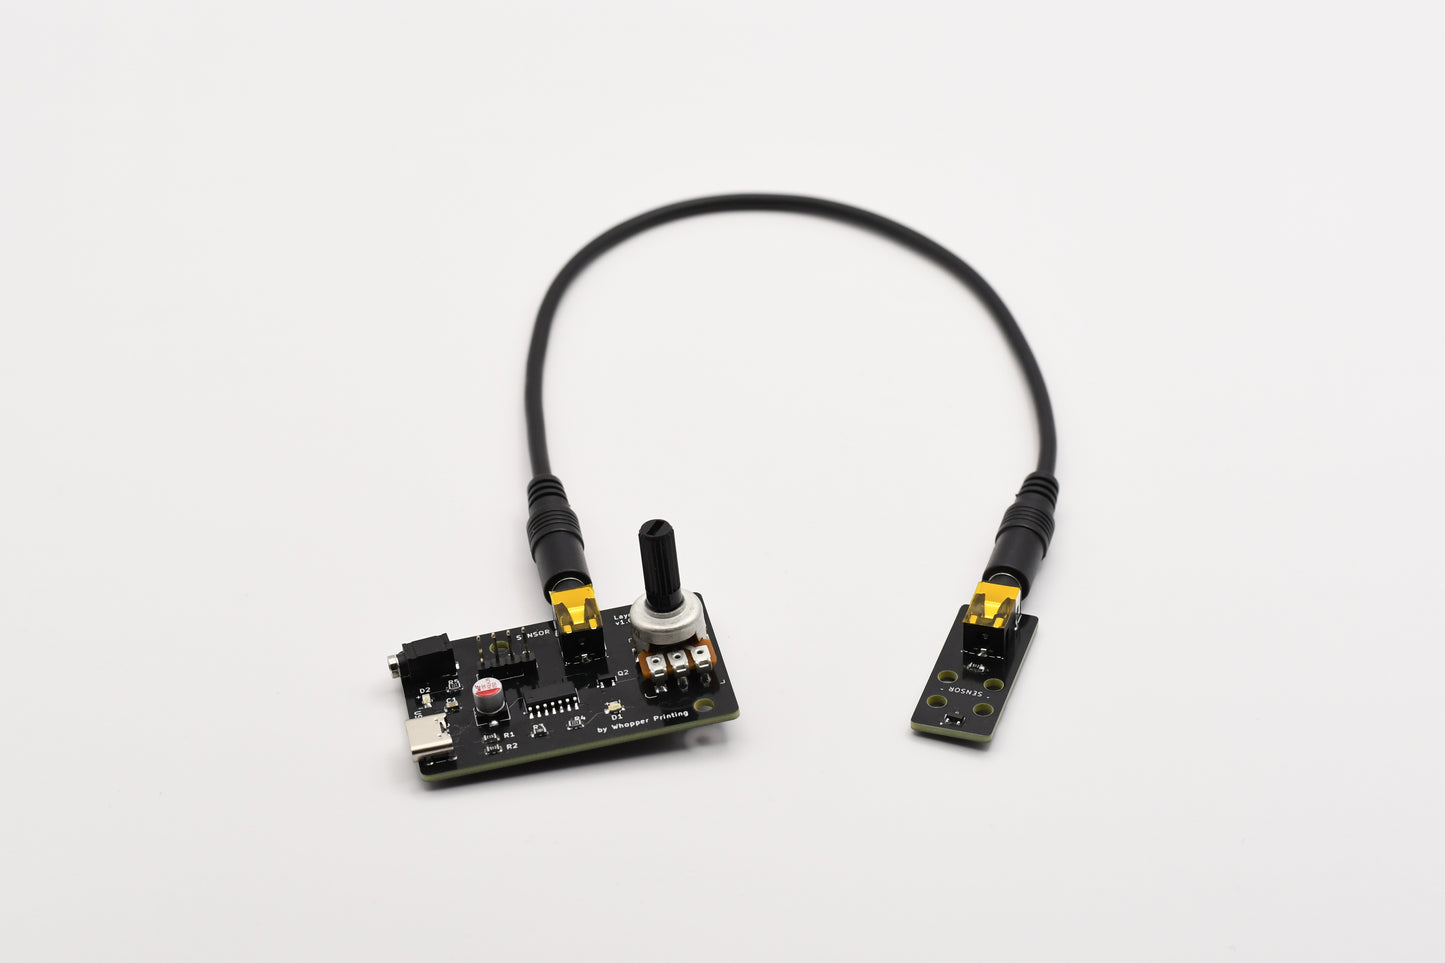
What's in the box?
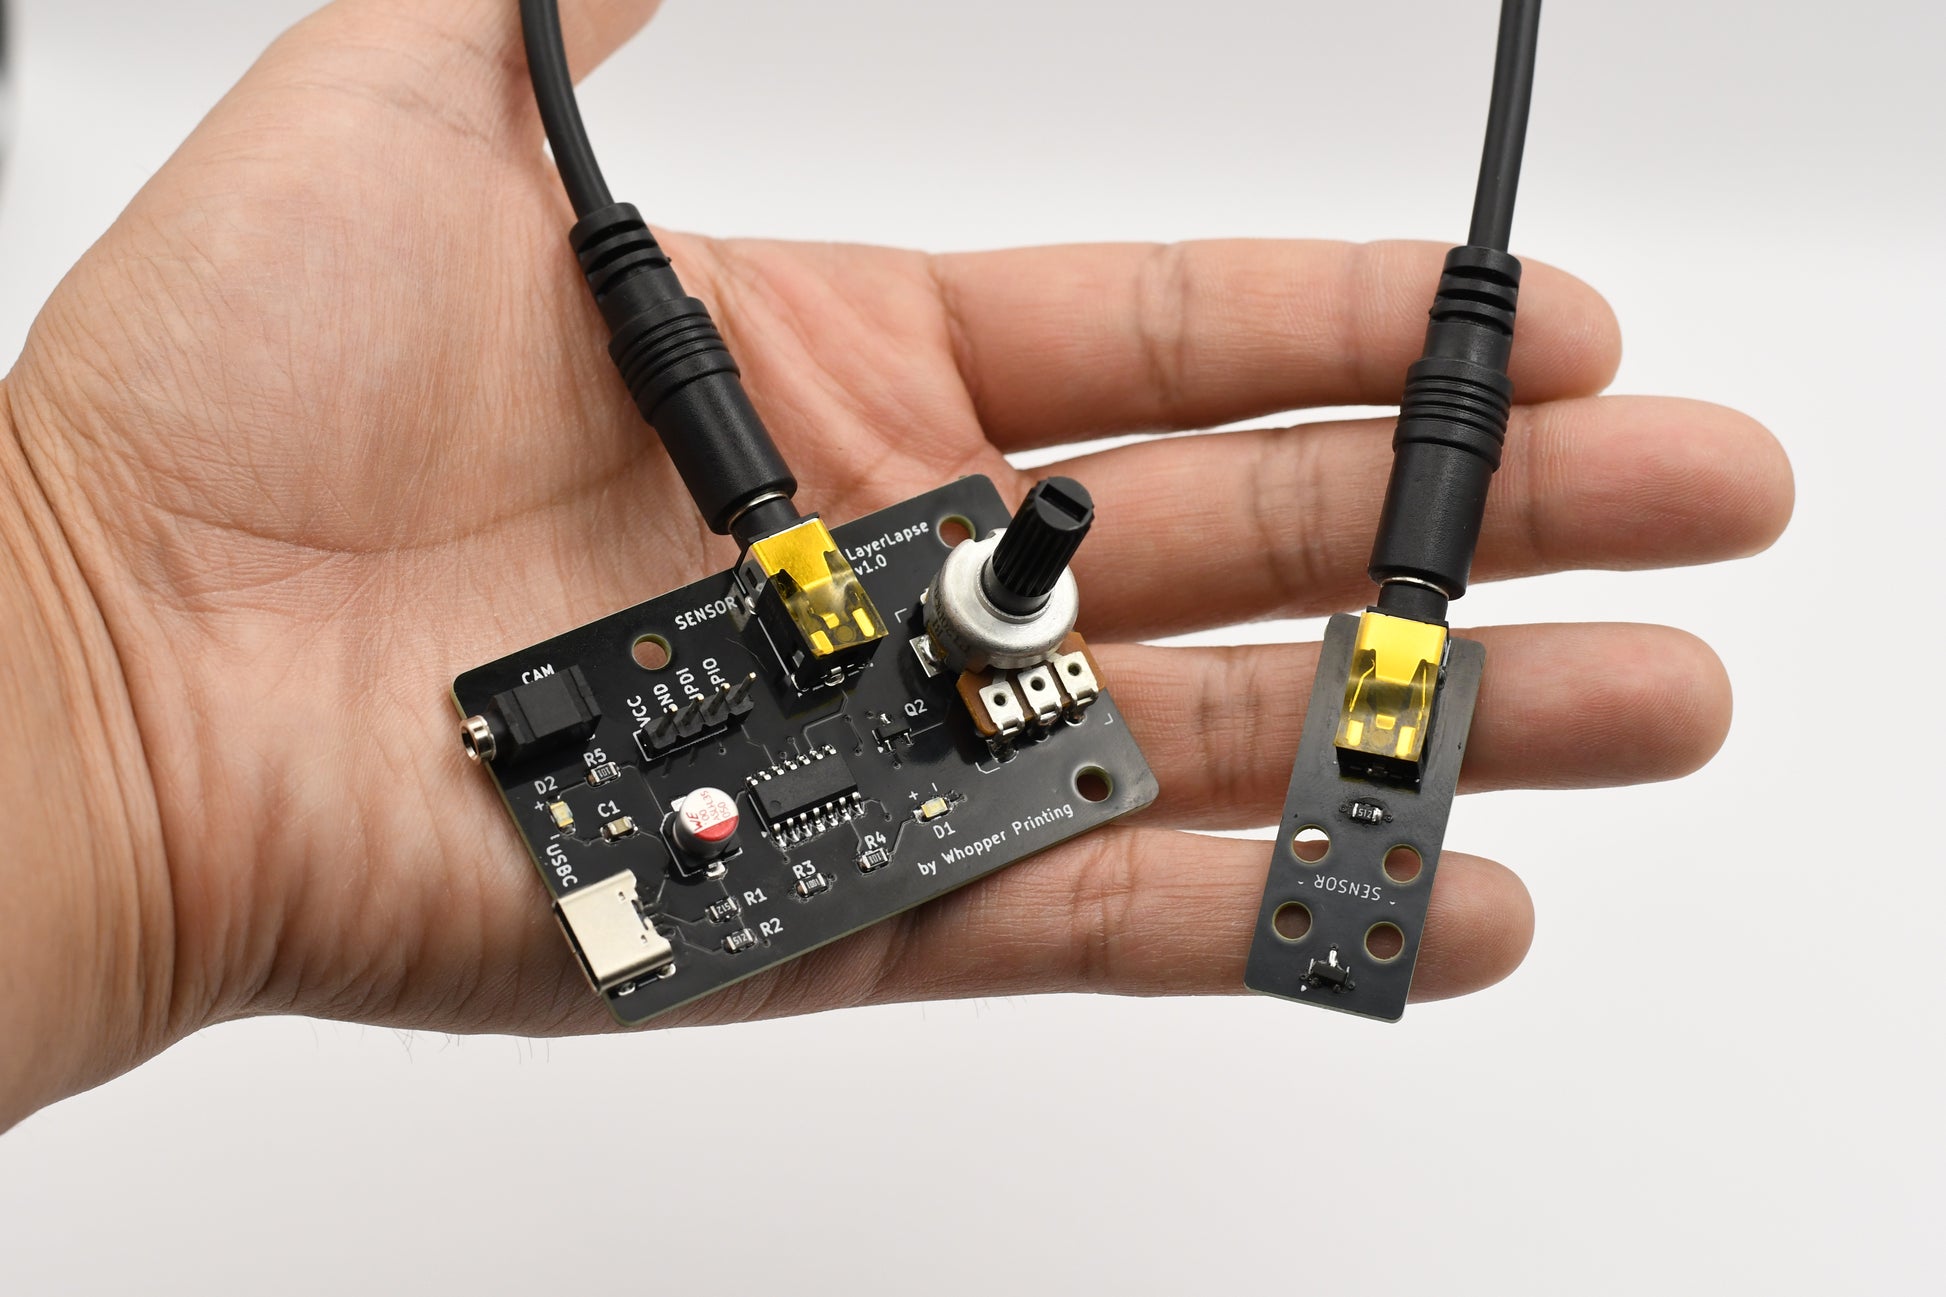
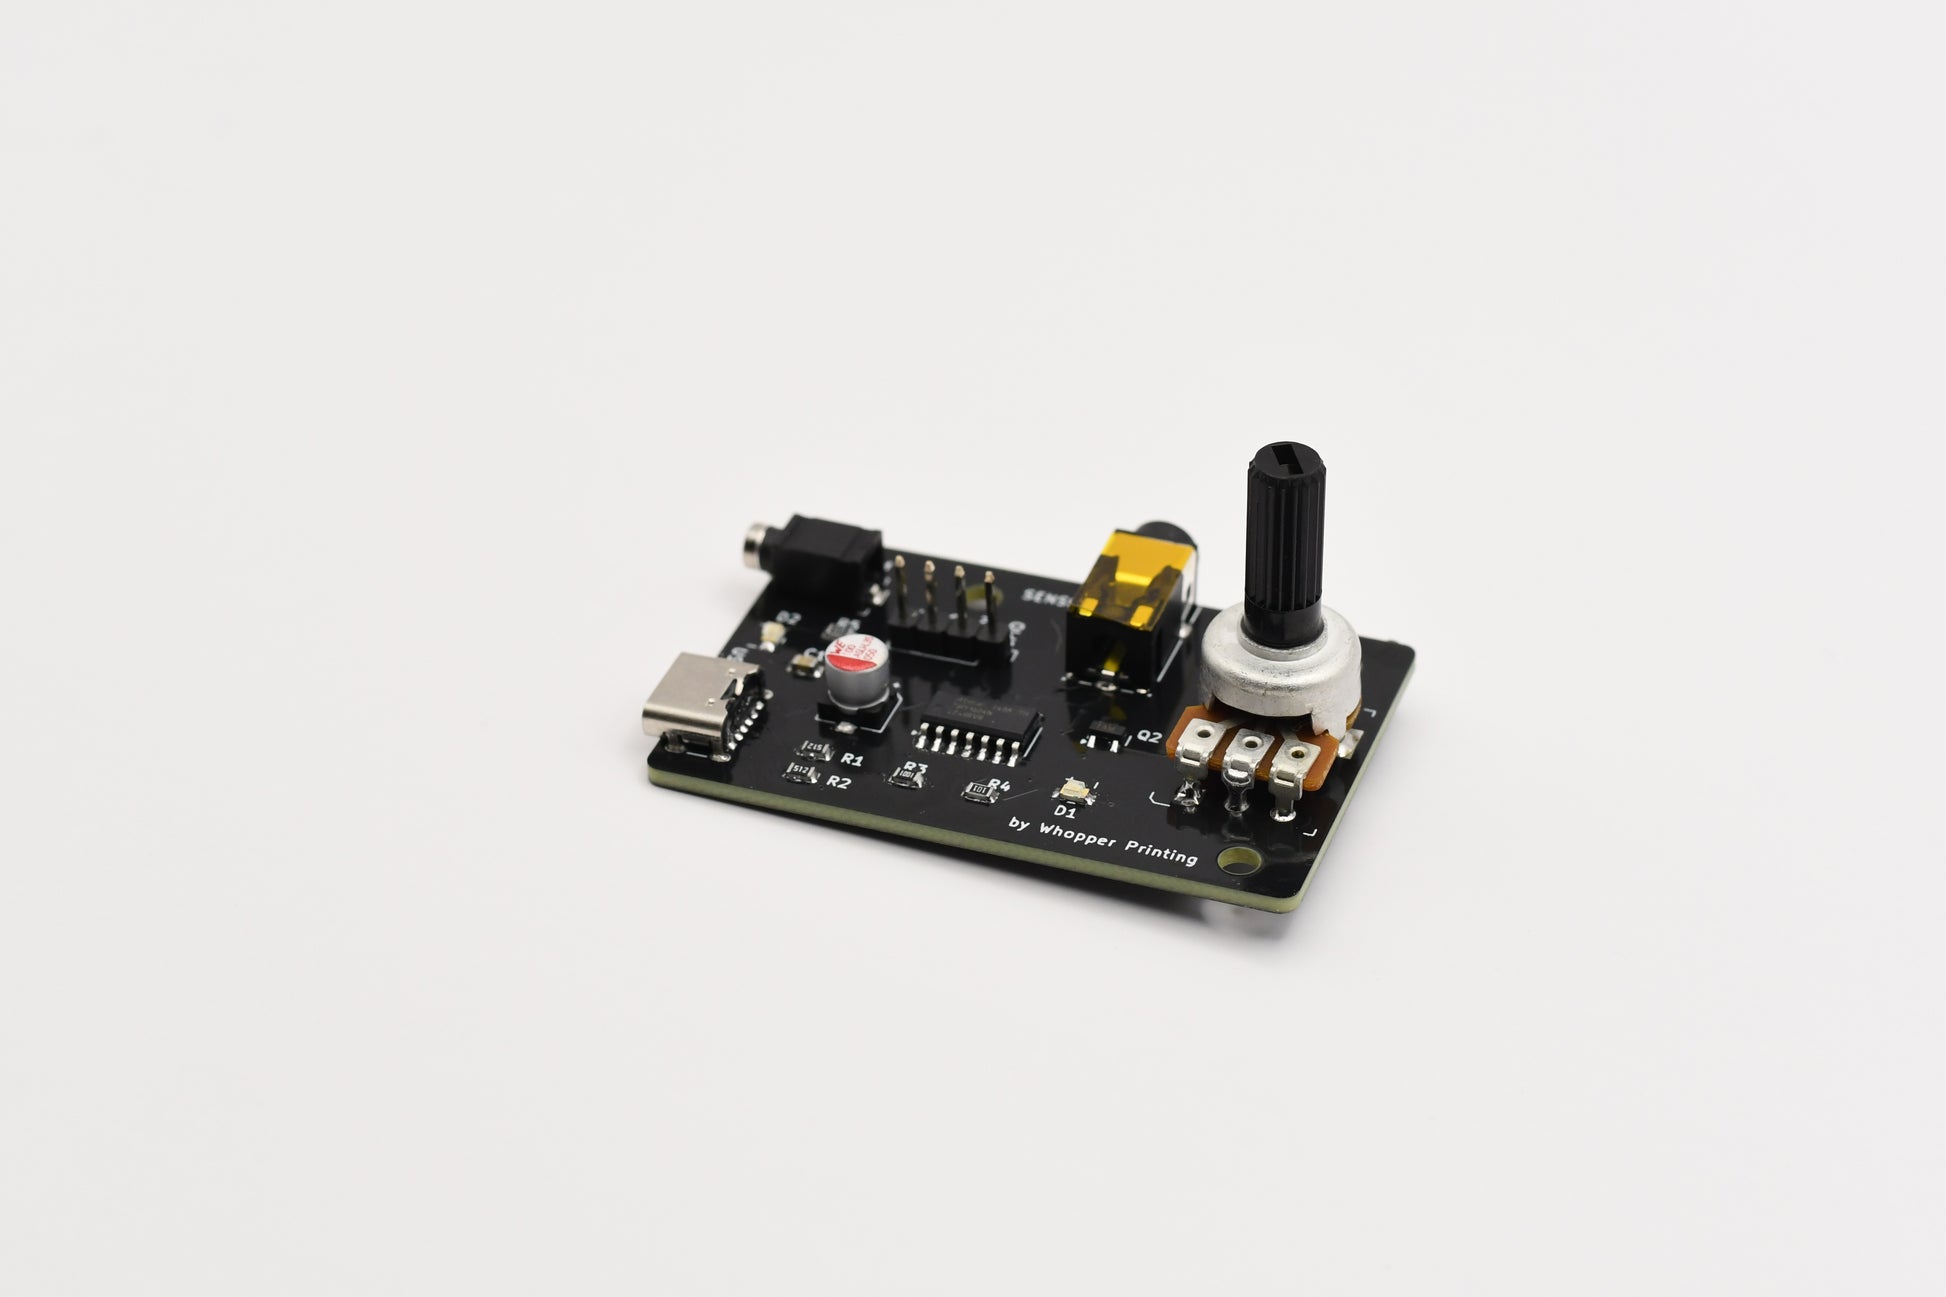
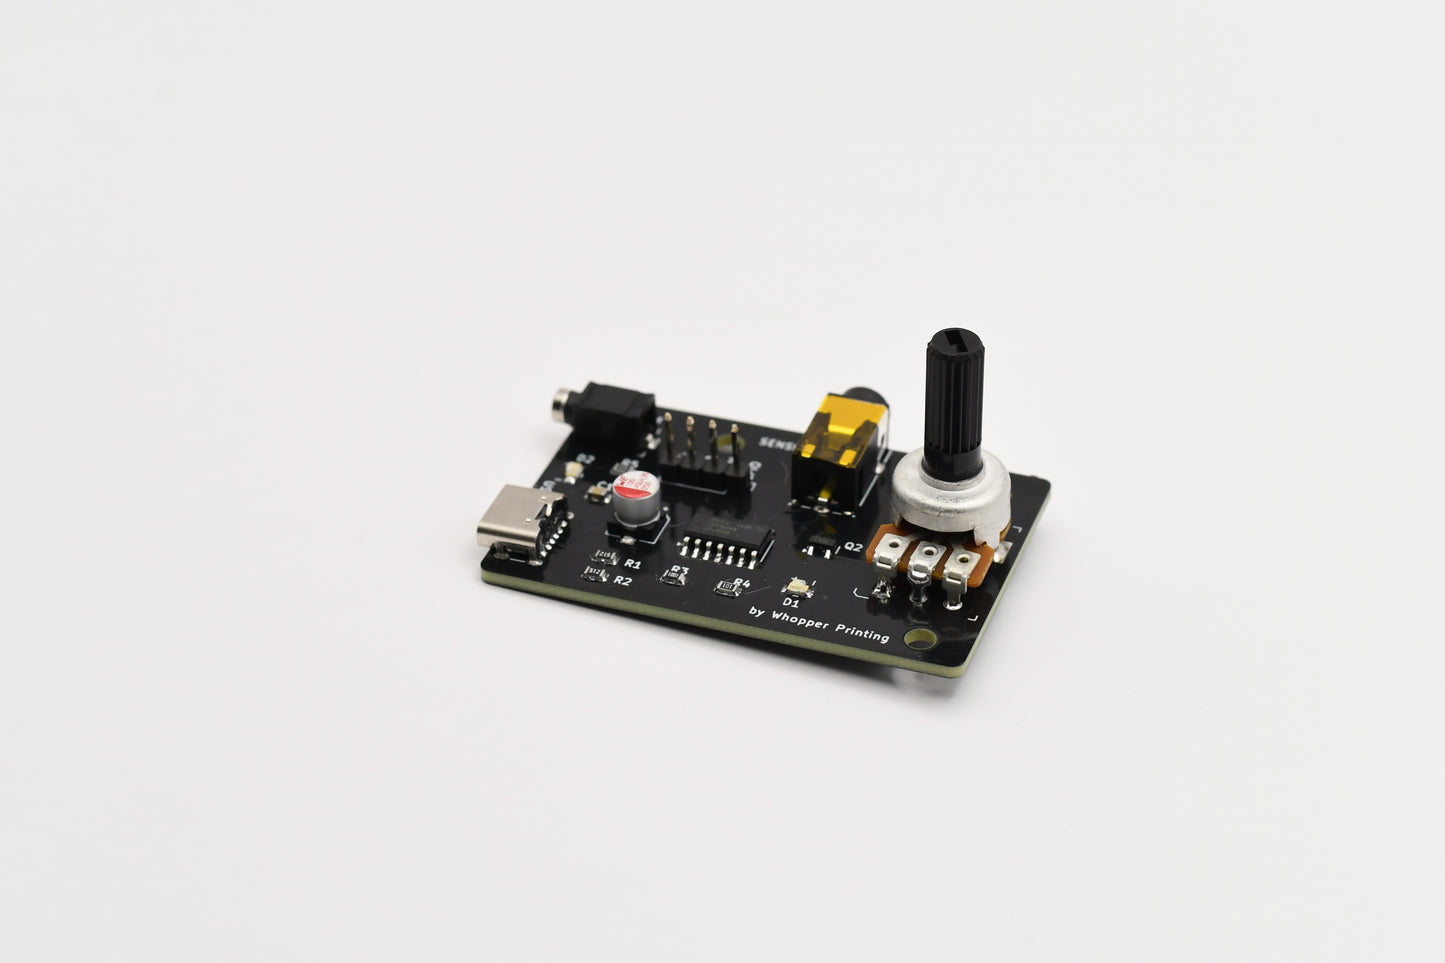
- LayerLapse mainboard
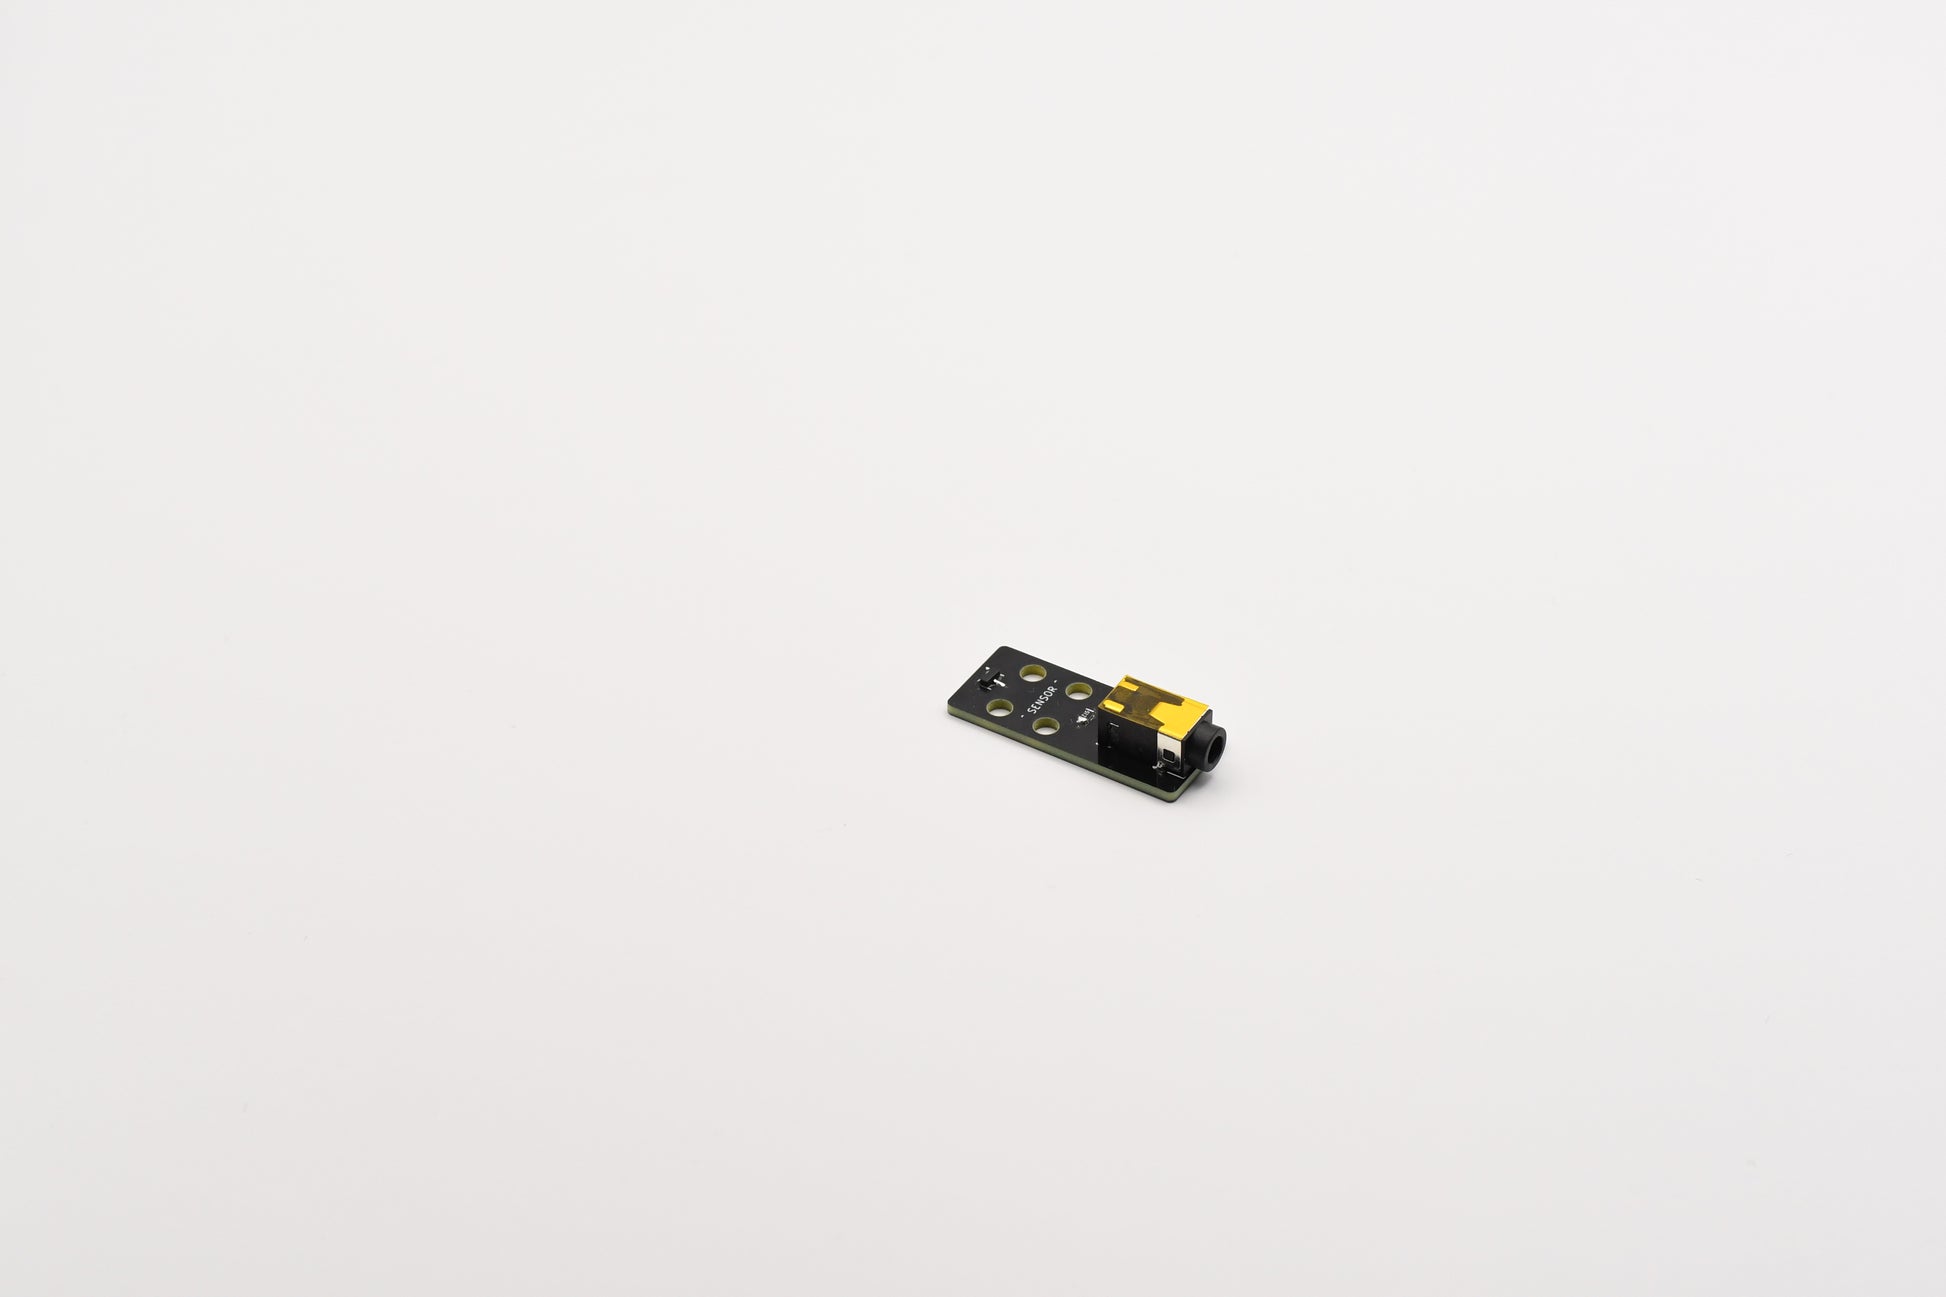
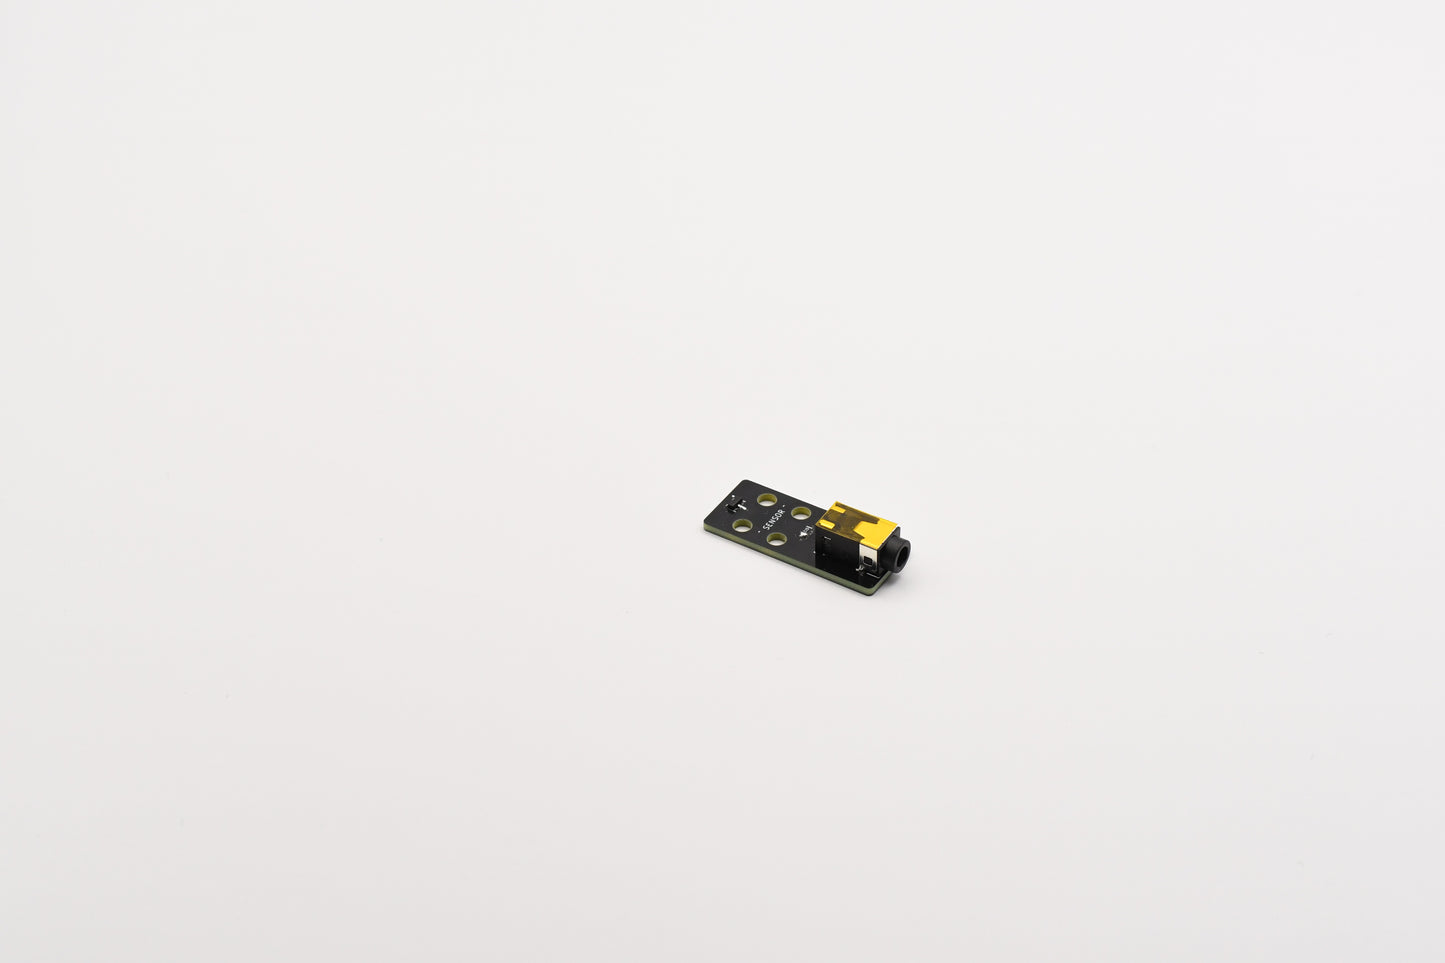
- Magnetic Hall effect sensor board
- 1 foot long, 3.5mm male-to-male sensor cable (3 foot long cable available as an add-on)
- Small 5×5×2mm neodymium magnet for mounting to your print head (can use your own)
Not included:
- USB-C power cable or brick by default (can be purchased as an add-on)
- Camera trigger cable (see compatibility list here)
LayerLapse In Use

